How To Paint A Pickleball Court On Concrete
Are you thinking about painting a pickleball court on some concrete for you and your friends to play on? Surfacing a pickleball court is pretty simple, but it’s about more than just painting some lines and calling it a day. The surface of the pickleball court is also essential to get right to give you the best playing experience possible.
To paint a diy pickleball court on concrete, you’ll need to clean the surface and seal off any cracks. Then outline the playing area and apply two coats of resurfacer to protect the concrete. Once the resurfacer is dry, apply at least two coats of paint to the court before painting the lines.
Have you ever wanted a pickleball court in your backyard or simply wondered how courts were painted? We’ve compiled a step-by-step guide to painting your own pickleball court on concrete with everything you may need.
What You’ll Need To Paint A Pickleball Court On Concrete
Painting a pickleball court is a lengthy process, but if it’s done right, you could be playing on it by the next day. The first thing you’ll want to do is choose the area for your court. The concrete area where you want to paint your court should be a flat and even surface, with as few cracks and dips as possible.
The nice thing about pickleball courts is their small size, so installing one in a playground or backyard is pretty straightforward. You can have a contractor lay the concrete and paint your court for you, but if you want to paint it yourself, it’s not too difficult. If you’re having a contractor lay the concrete, there are a few surfaces you can choose from.
If fresh concrete is laid for the new court, you’ll have to wait two to four weeks for it to cure to let it set and dry thoroughly. Otherwise, settling cracks may form after you have painted your court, and you’ll have to seal them and start over. However, if you plan to use a space where the concrete is already in place, you can start immediately.
Once you have chosen the space for your court, you’ll need to clean the surface of debris, dirt, and any loose materials lying around. So grab a rough broom or a leaf blower and get cleaning. You’re also welcome to power wash the surface, but you’ll need to wait for it to dry before proceeding further.
Once the court area is clean, you’ll need to fill in any cracks and uneven surfaces with an acrylic binder mixed with cement and sand. You can sand down these patches afterward to make them even, so don’t be afraid to lay in on thick! Dips in the concrete will cause a few problems, namely inconsistent ball bounce on that spot, and water will take much longer to dissipate after rain.
The next thing you’ll need to choose is the resurfacer you’d like to use. A resurfacer will fill in all remaining dips in the concrete and cover up any repairs you’ve made to cracks.
An acrylic resurfacer with around fifty to sixty mesh silica sand is recommended because it gives the surface a sandpaper-like texture. The sandpaper-like texture is helpful when applying a color coat, as the color coat adheres more firmly to the surface.
For the color coat, USAPA (USA Pickleball Association) recommends using 100% acrylic paint for the surface coats of outdoor courts. The acrylic paint is mixed with silica sand, but unlike in the resurfacer, the silica sand is smoother and more rounded to produce better ball speed. It preserves the concrete well, so you won’t have to spend much time or money on maintenance.
Acrylic paints are helpful to court owners and players. They offer better traction, a consistent feel, and ball bounce to give them the best playing experience. For court owners, acrylic paint is highly durable and doesn’t fade or damage easily, removing the need for frequent repainting.
It also helps seal off the surface beneath it to withstand different weather conditions without damaging the concrete. It’s a cost-effective coating option, and repairs are easy and inexpensive.
Next, you’ll choose the color you want to paint your court. There aren’t any limitations on the color you can choose except that it must contrast well against the lines of the court and the ball. When pickleball was gaining popularity, the courts were painted various colors besides green and blue because picklers didn’t want people to confuse pickleball courts with tennis courts.
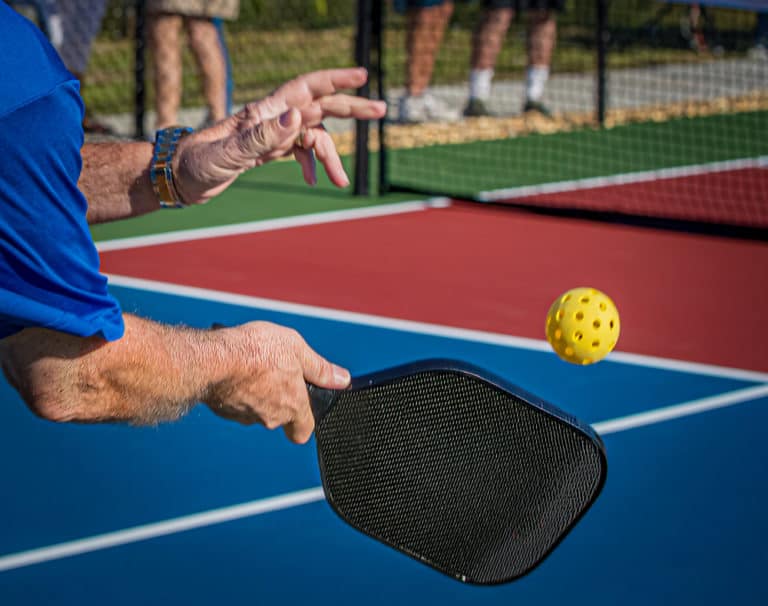
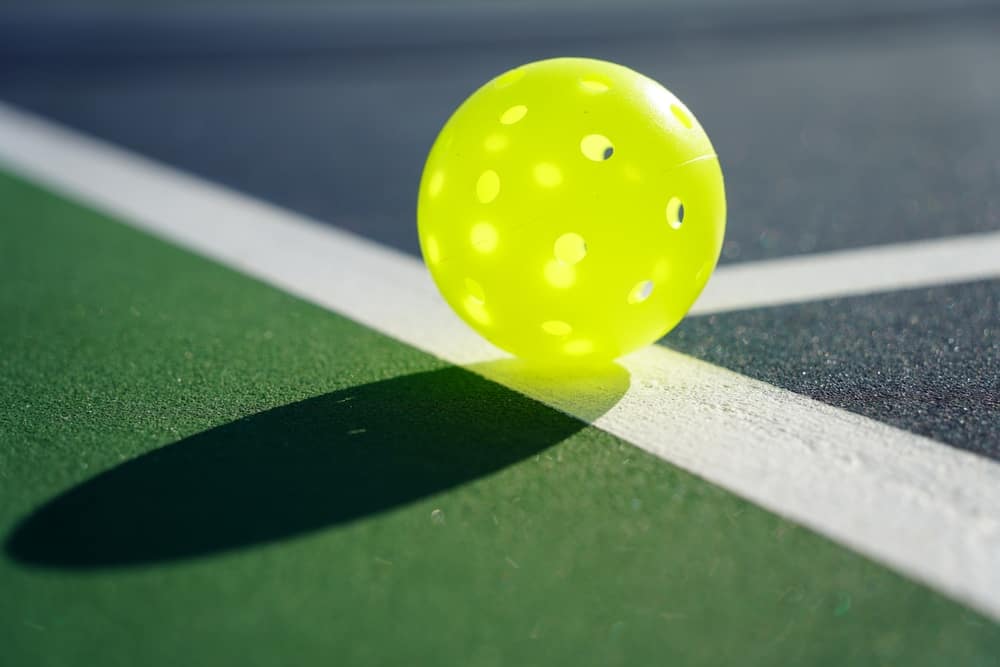
Now that pickleball has become a popular sport in its own right, there isn’t much worry over which color the court is. You’ll want to choose a color that contrasts the ball. Typical pickleball balls are lime green, orange, or yellow, so painting your court any of those colors may not be the best idea. Blues, grays, or dark greens are the best colors to contrast the ball.
Another thing to consider is that sun-reflecting colors can make a significant difference in warmer weather. The court remains cooler on hot days, so players suffer less from the heat. Colors that are not sun-reflective can make the court pretty hot when the sun is beating down. However, it’s entirely up to you which color to paint your court, as there are no strict rules.
Paint spreading squeegees work well when applying the resurfacer and the paint. They give you great control over where your paint and resurfacer are going once it has been poured onto the court. Squeegees also help to spread the product evenly over the court.
You’ll also need to decide on what color the lines of your court will be. White is typically used because it contrasts nicely with even slightly darker colors. You’ll need a 3-inch paint roller to make painting the lines quick and easy. Any paint roller or brush will do if you don’t have a three-inch roller, but it makes the job easier. Just be careful not to paint over any other parts of the court.
The last things you’ll need before getting started are a reliable outdoor masking tape and some masking paper for any excess product. If you find that you’ve added too much paint or resurfacer, you can move the excess product onto the masking paper and use a dustpan to scoop it up. Leaving a pool of excess product on the court will lead to a patchy and uneven court surface.
Painting Your Pickleball Court
Once you’ve chosen a playing area and gotten everything you need to paint a court, it’s time to get to work. Surfacing a pickleball court is a step-by-step process, and if you follow the steps correctly, it’s pretty easy. All that’ll be left to do is ‘watch the paint dry.’
Measuring Out Your Playing Area
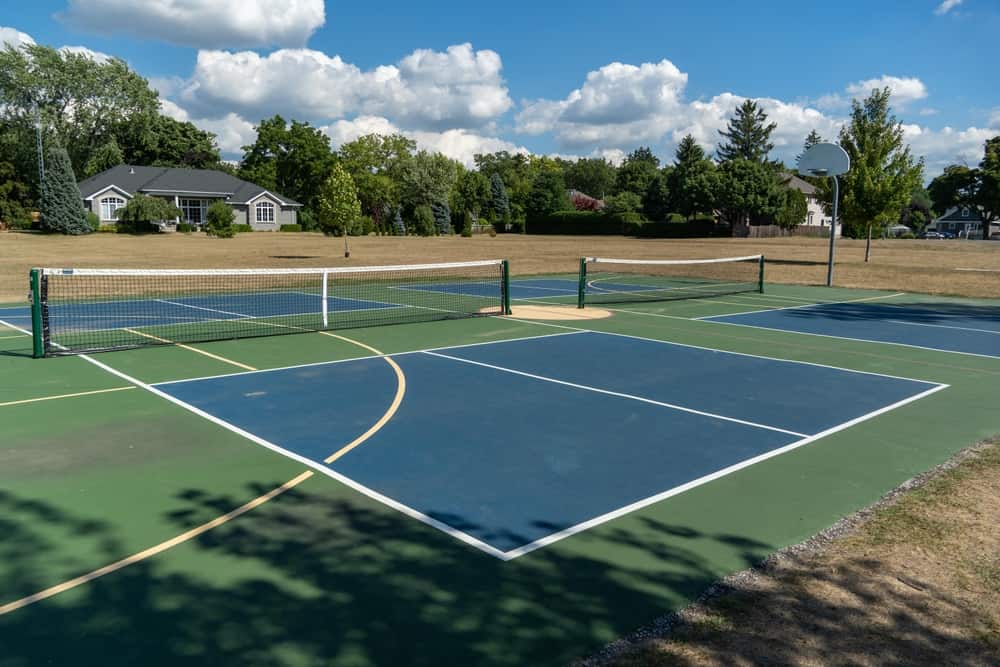
Once you’ve chosen your playing area, you need to measure out your pickleball court to know where to paint. A pickleball court is twenty feet wide and forty-four feet long. However, the playing area is slightly bigger than that. Because players won’t always stay inside the boundaries of the court, you’ll need to resurface a larger area to ensure that the entire playing area provides the same conditions as the court.
USAPA recommends a minimum playing area of thirty feet by sixty feet to give players enough room to move around and hit the ball from outside the court. It would be best if you used masking tape to outline the playing area for resurfacing. Once you have taped the boundaries of the playing area, tape sheets of masking paper at one end of the area so that you can remove any excess product later.
Resurfacing Your Playing Area
Now that you’ve outlined your playing area, it’s time to apply the resurfacer. Pour some onto the ground along the opposite side from where your masking paper is. This way, when you spread it over the court, you’ll be able to move any excess resurfacer onto the paper without worrying about stepping onto the already resurfaced area.
After pouring the resurfacer onto the ground, work backward and use your squeegee to spread it to cover the ground in front of you. Work your way towards the masking paper side, spreading the resurfacer to cover the concrete adequately. If there is a dip in the surface, the resurfacer should help to even it out. Once you’ve covered the playing area, let it dry in the sun for at least an hour or two.
It’s recommended that you coat the playing area at least twice to give it extra protection from the elements and ensure that every part of the concrete is covered correctly. It gives the surface a texture that lets the paint adhere nicely.
Coloring Your Pickleball Court
You may have noticed that some courts are different colors from the rest of the playing area, and some are uniform. If you only want one color for the court and the playing area, you can repeat the same process you used when spreading the resurfacer. It’s entirely up to your preference. Let’s assume you want to have different colors for the court and the outside playing area.
When coating the playing area in multiple colors, you’ll need to measure and outline different areas with masking tape and masking paper to catch excess paint and prevent it from spilling into a different colored area. It’s best to use two coats of paint to ensure the surface is covered thoroughly and the color is saturated everywhere. Before applying the second layer, it’s essential to let the first coat dry.
Some paints can dry within an hour in warm weather and direct sun, while others may take slightly longer. Make sure to choose a day where sun is guaranteed for at least twenty-four hours afterward to let the paint dry completely. Don’t attempt to paint the court if you’re expecting rain or humid weather, as this may wash away and ruin the paint job.
Once you have coated the surface with at least two layers, remove the masking tape and paper and let the paint dry completely. You may want to remember that it’s a good idea to pour new paint over an area where paint has already been spread. This will help to give your court a beautiful, even finish and prevent pour marks.
Painting Lines On Your Pickleball Court
When your coating is dry, it’s time to paint the lines on your court. The standard line width is two inches and is included in the court measurements. To paint the lines, measure and outline the court with masking tape. You won’t need masking paper for this step as you’re rolling or brushing small amounts of paint onto the surface.
After you’ve outlined the court in masking tape, tape around the court again, leaving a two-inch gap between the tape lines inside the court. Don’t forget to tape the lines inside the court, marking the non-volley zone and the two blocks on each side. Now you can finally paint your court lines.
You can also use two coats of paint for the lines to ensure they stand out well against the rest of the court. Once you have painted them on, let the paint dry briefly before removing the tape. Let the court sit for around twenty-four hours in warm, sunny weather to dry. If the court is covered in shade or the temperature is low, you may have to let it dry for up to two days.
Ta-da! Your new pickleball court is finished. You can now set up your net, grab a paddle, and play to your heart’s content.
Conclusion
Painting a new pickleball court on concrete is a simple, step-by-step process. Pickleball courts are small enough to enjoy in your backyard, a park, or a playground. You should ensure that any cracks are sealed because the resurfacer won’t be able to hide them. However, if the cracks are sealed, the resurfacer can cover them, and you can quickly move on to giving your court a nice color coat.
Getting the correct measurements and ensuring the lines are straight is essential to give everyone a fair chance. You can lay masking tape to outline any surfacing or painting areas you plan to cover. Once that’s done, you just have to wait for the paint to dry, and you can enjoy the new court.